TEN blogs
Step-by-step guide: creating and optimizing your service

Creating a service might seem like a complex task that requires time and effort. However, offering a well-structured service can significantly enhance the promotion of your offerings. To make this process more manageable, we’ve created this step-by-step guide to help you set up your service with ease.
There are several places on the website where you can create a service: header, service category section, and dashboard.
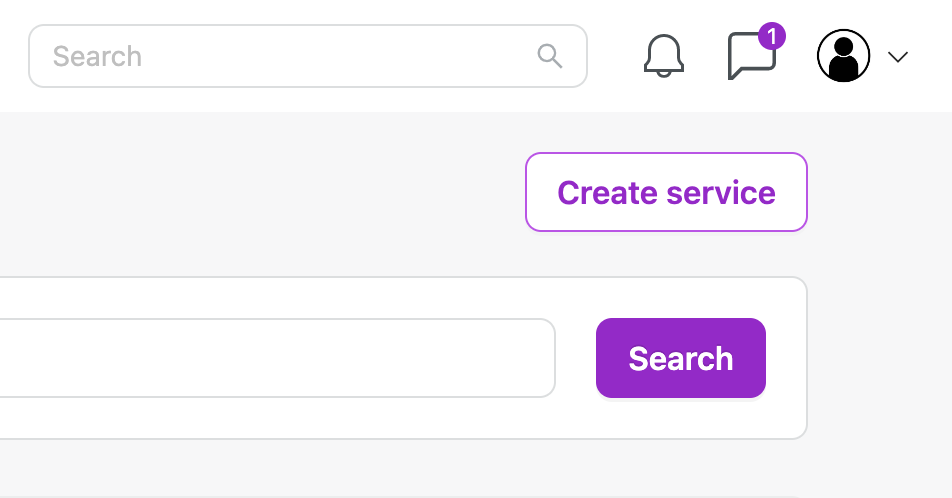
Once you’re on the service creation page, follow these steps:
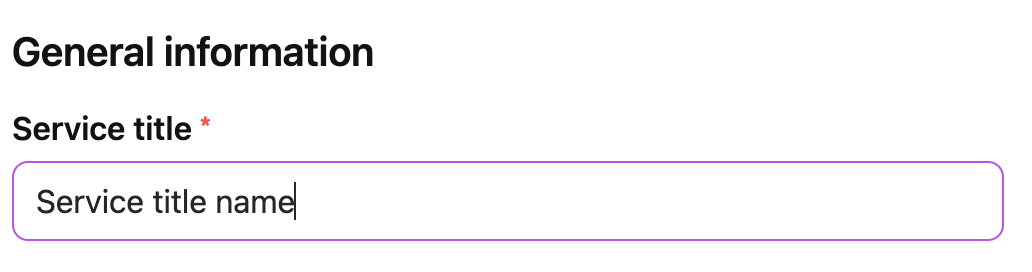
Choose a name for your service (Service title):
Aim to make the title as descriptive and meaningful as possible. A potential client should understand what they can expect from your service just by reading the title. This increases the likelihood of capturing their interest. If you’re providing a service as an individual (e.g., talent, influencer), consider including your name, as someone might be looking to collaborate specifically with you.
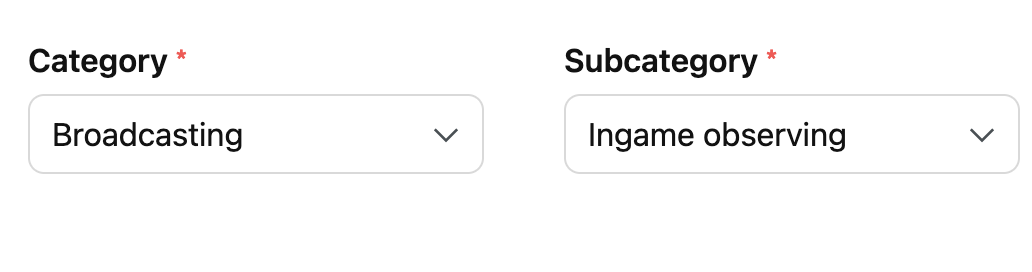
Select the category (Category) and subcategory (Subcategory):
Identify the category and subcategory that best describe your service. If you’re unable to find a suitable category, don’t hesitate to contact us. We’ll help you determine the right category or even add a new one if necessary.
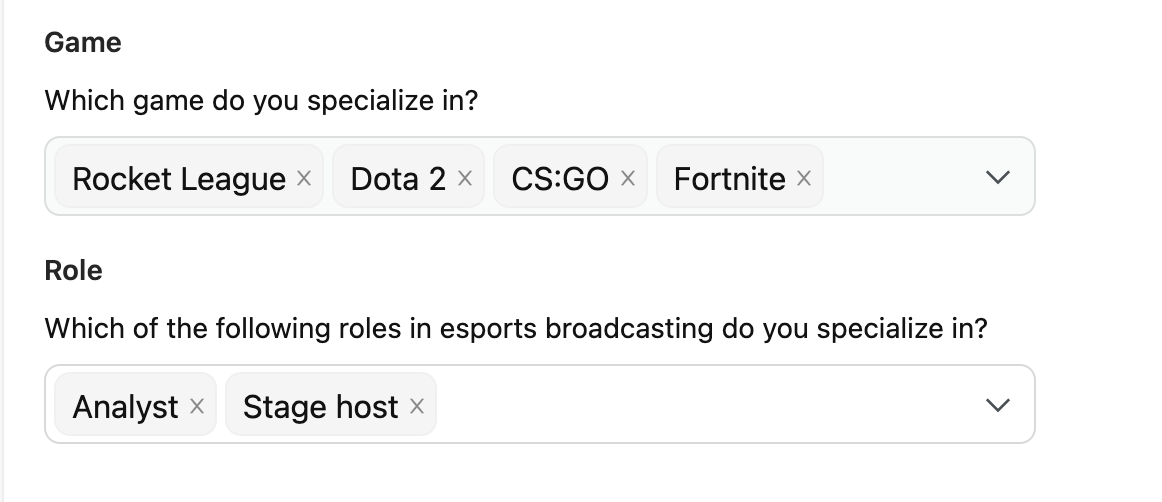
Complete additional filters (if applicable):
Some categories feature additional filters for further classification of services. These filters may include gaming disciplines, software tools, roles, and more. Be sure to complete these filters if they are available for your chosen category.
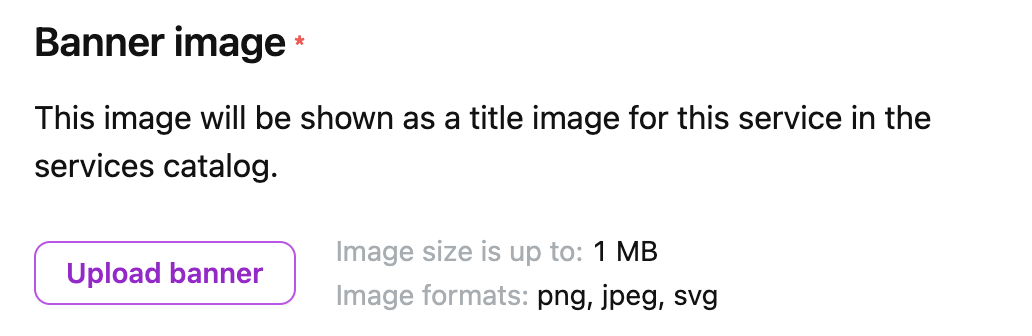
Select a banner image for your service card (Banner image):
The banner image, in combination with the title and description, defines how your service card will appear in the listings. You can use a personal photo, a banner with a message, or an example of your work, as long as it adheres to the guidelines and effectively attracts attention to your service. Remember that the final display size will be relatively small, so ensure that the content remains clear and understandable within the catalog.
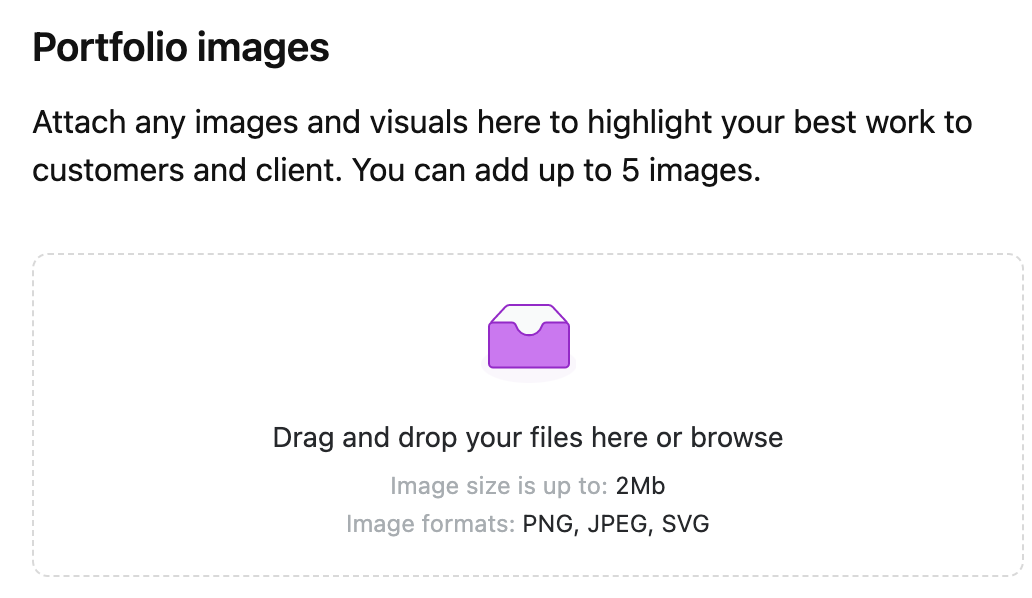
Upload images to your portfolio:
Your portfolio is a crucial element of your service page, showcasing your past work, skills, and style. You can upload up to 5 images in PNG, JPEG, or SVG formats.
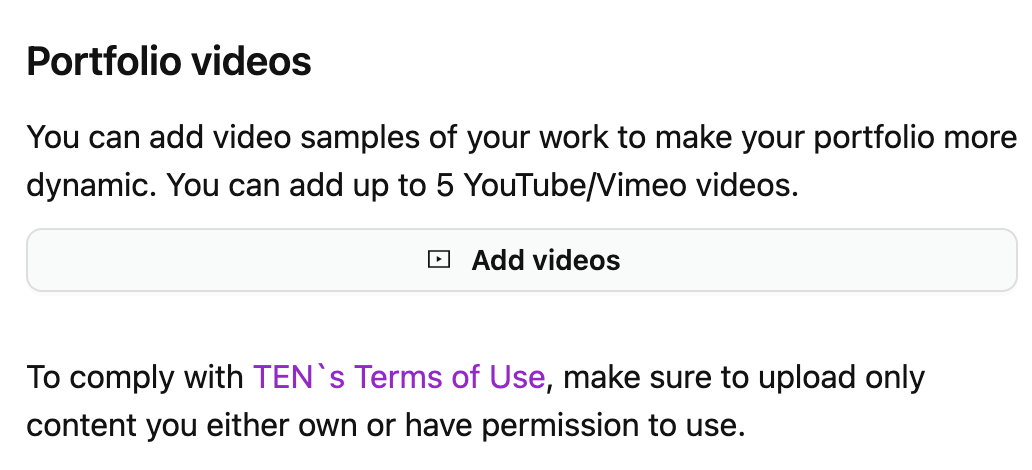
Add video links (if applicable):
If your work can be presented in video format, you can include up to 5 video links from platforms like YouTube or Vimeo.
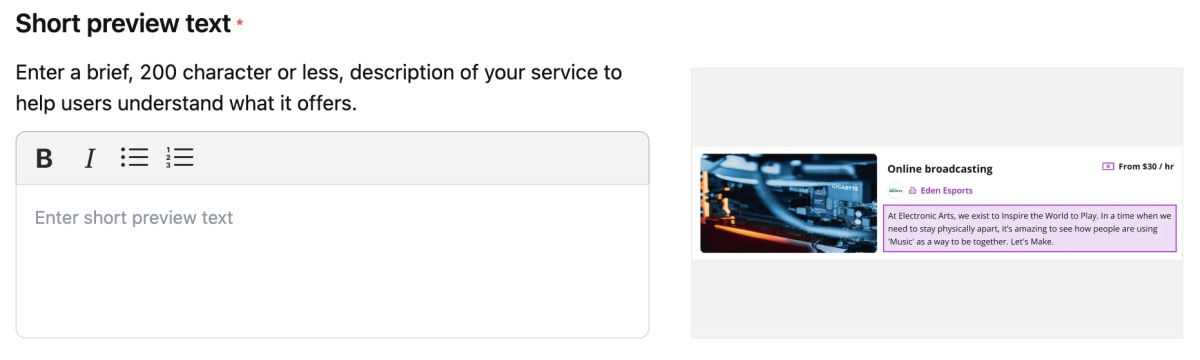
Write a brief service description (Short preview text):
Create a concise description of your service that will appear in the catalog listings. You have up to 200 characters to make your service stand out.
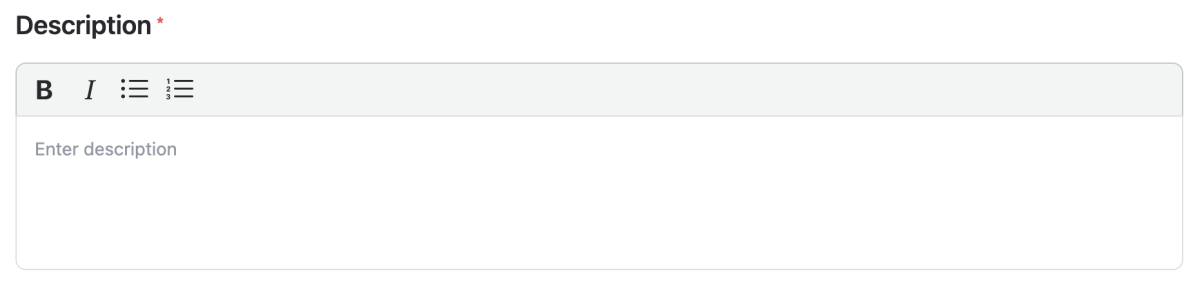
Description
Next, let’s focus on crafting a comprehensive description of your service. This section should cover all essential details about your service to effectively communicate with potential clients.
Outline your work process, the components of your service, your background, notable achievements, the unique advantages of your service, and any terms and conditions related to service provision or payment.
If your service necessitates specialized skills or education, be sure to mention your qualifications, educational background, or relevant certifications that attest to your expertise.
If your service can be tailored to individual clients’ needs, specify available customization options and their impact on pricing and project timelines.
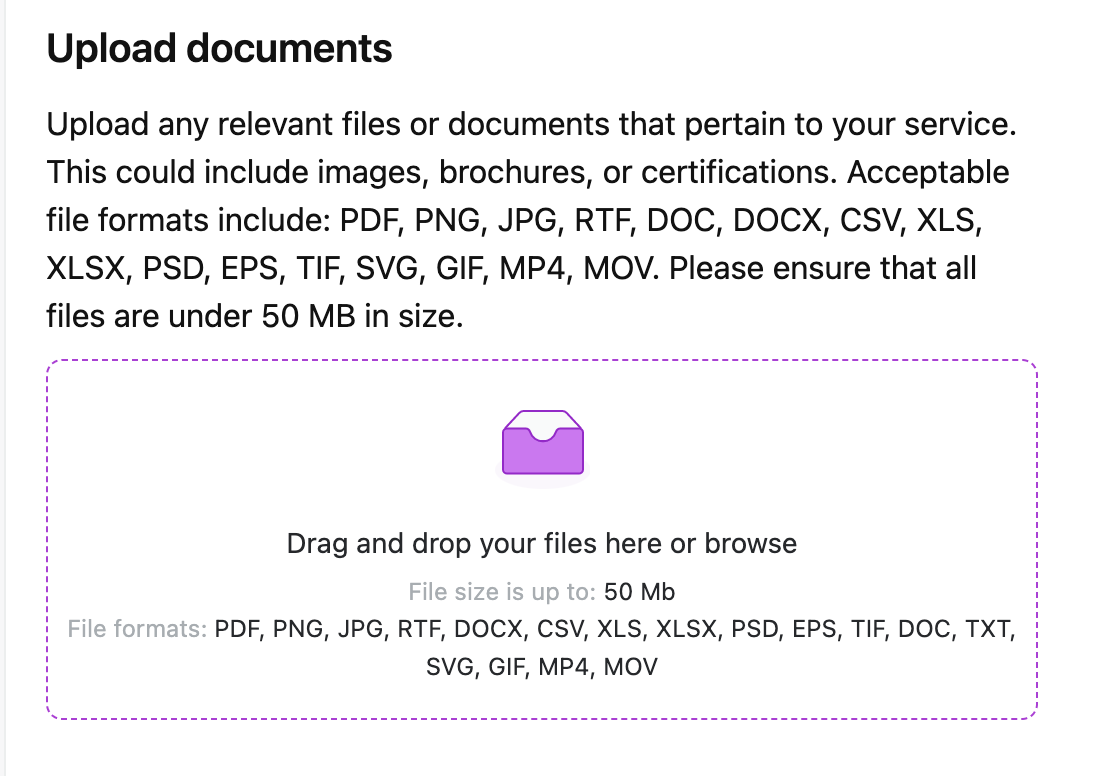
For any additional files (apart from images and videos from the portfolio section) required to showcase your service, use the Upload documents section.
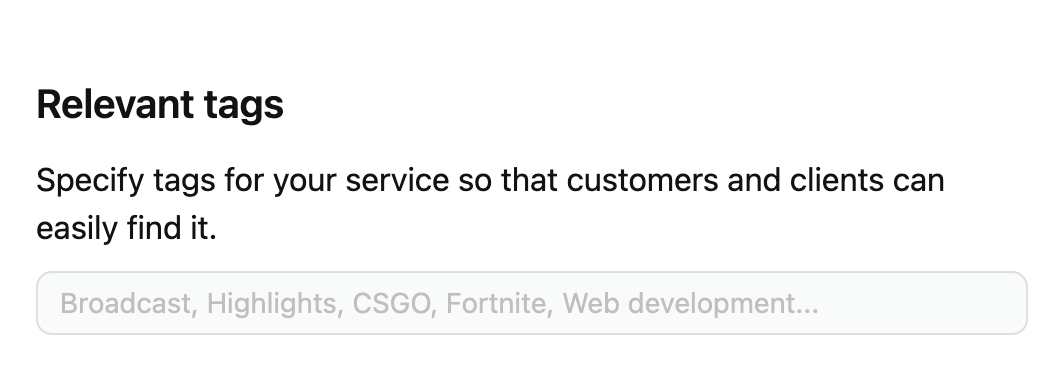
Relevant tags. To streamline the matching process with potential clients and improve your service’s visibility, include tags that describe your service and skills with individual words.
Lastly, in the Scope and pricing section, determine the base price. Choose from the following options:
Fixed price: Applicable when you have a precise understanding of the service cost, which is a one-time, fixed amount.
Hourly: Suitable for services billed hourly.
Daily: Ideal for services billed daily.
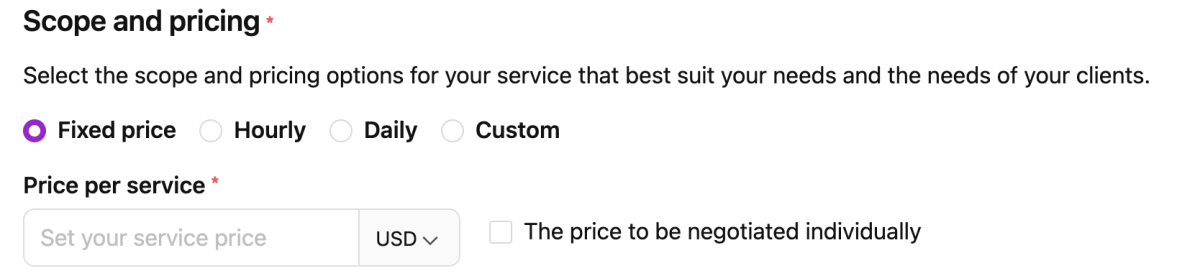
Custom: Choose this option if you need to define your service’s unit of payment and cost, such as a card, Bo3, or a photograph.
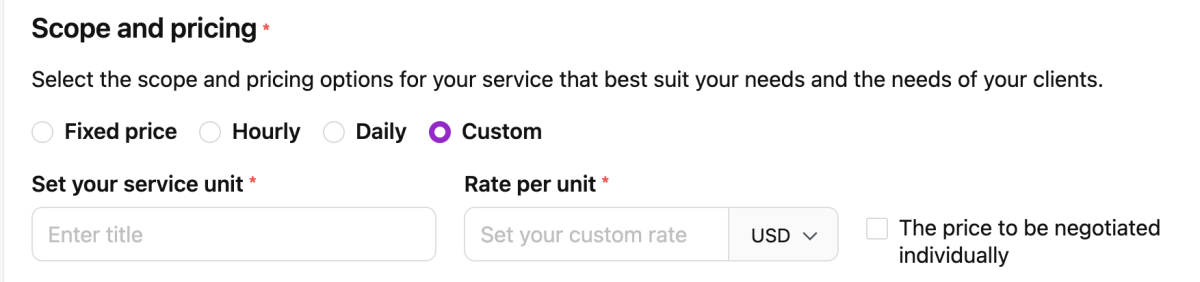
If none of these options fit your needs, select “The price to be negotiated individually.” In this case, you will need to negotiate your service’s cost with each client based on their specific requirements.
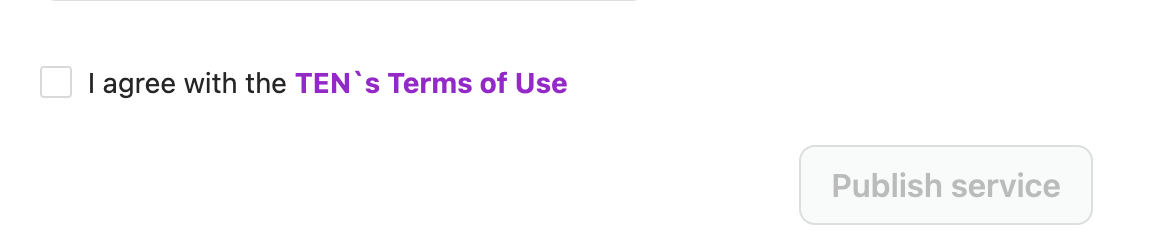
You’re all set! Don’t forget to agree to TEN’s Terms of Use by checking the appropriate box, clicking “Publish service,” and begin offering your services!
=====
Stay connected and updated with our latest events by following our social networks:
LinkedIn
Facebook
Instagram
Twitter
Do you have questions or feedback about this article? Feel free to reach out to us on the platform!